
React TsParticles 是一个流行的开源库,能让您轻松地将粒子动画集成到 React 应用程序中。它构建于 TsParticles 库之上,后者提供了一种灵活、可定制的方式来创建各种粒子效果和动画。React TsParticles 简化了将这些粒子动画集成到 React 项目中的过程,使其成为为网站或网络应用程序添加动态和视觉吸引力元素的强大工具,本文将向您展示几个使用示例。
在 Web 项目中添加粒子动画可以增强整体用户体验,使网站或 Web 应用程序更具吸引力和视觉吸引力。以下是将粒子动画融入网页项目的一些主要优势:
- 视觉吸引力:粒子动画可以通过添加动态和吸引眼球的元素,使网站更具视觉吸引力。它们可以创造出一种深度感和互动性,使你的网站在竞争中脱颖而出。
- 用户参与:动画能吸引用户的注意力,并能让用户参与到您的内容中来。互动颗粒可以鼓励用户与网站互动,探索网站功能。
- 用户互动:交互式粒子动画可以响应用户的操作,如鼠标移动或触摸,从而使网站更具响应性和交互性。这可以改善整体用户体验。
- 背景效果:粒子动画通常用于背景效果,为内容提供有吸引力的背景。这对登陆页面、作品集和其他视觉导向型网站都很有效。
安装和设置 React TsParticles
在您的 React 应用程序项目目录下,您可以使用以下 bash 脚本通过您喜欢的软件包安装程序安装 TsParticles 依赖项:
对于 npm:
npm install react-tsparticles tsparticles
对于 yarn:
yarn add react-tsparticles tsparticles
使用 TsParticles 创建动画
在本节中,我们将讨论 TsParticles 提供的各种动画,以及如何将它们集成到网络应用中。
彩纸效果
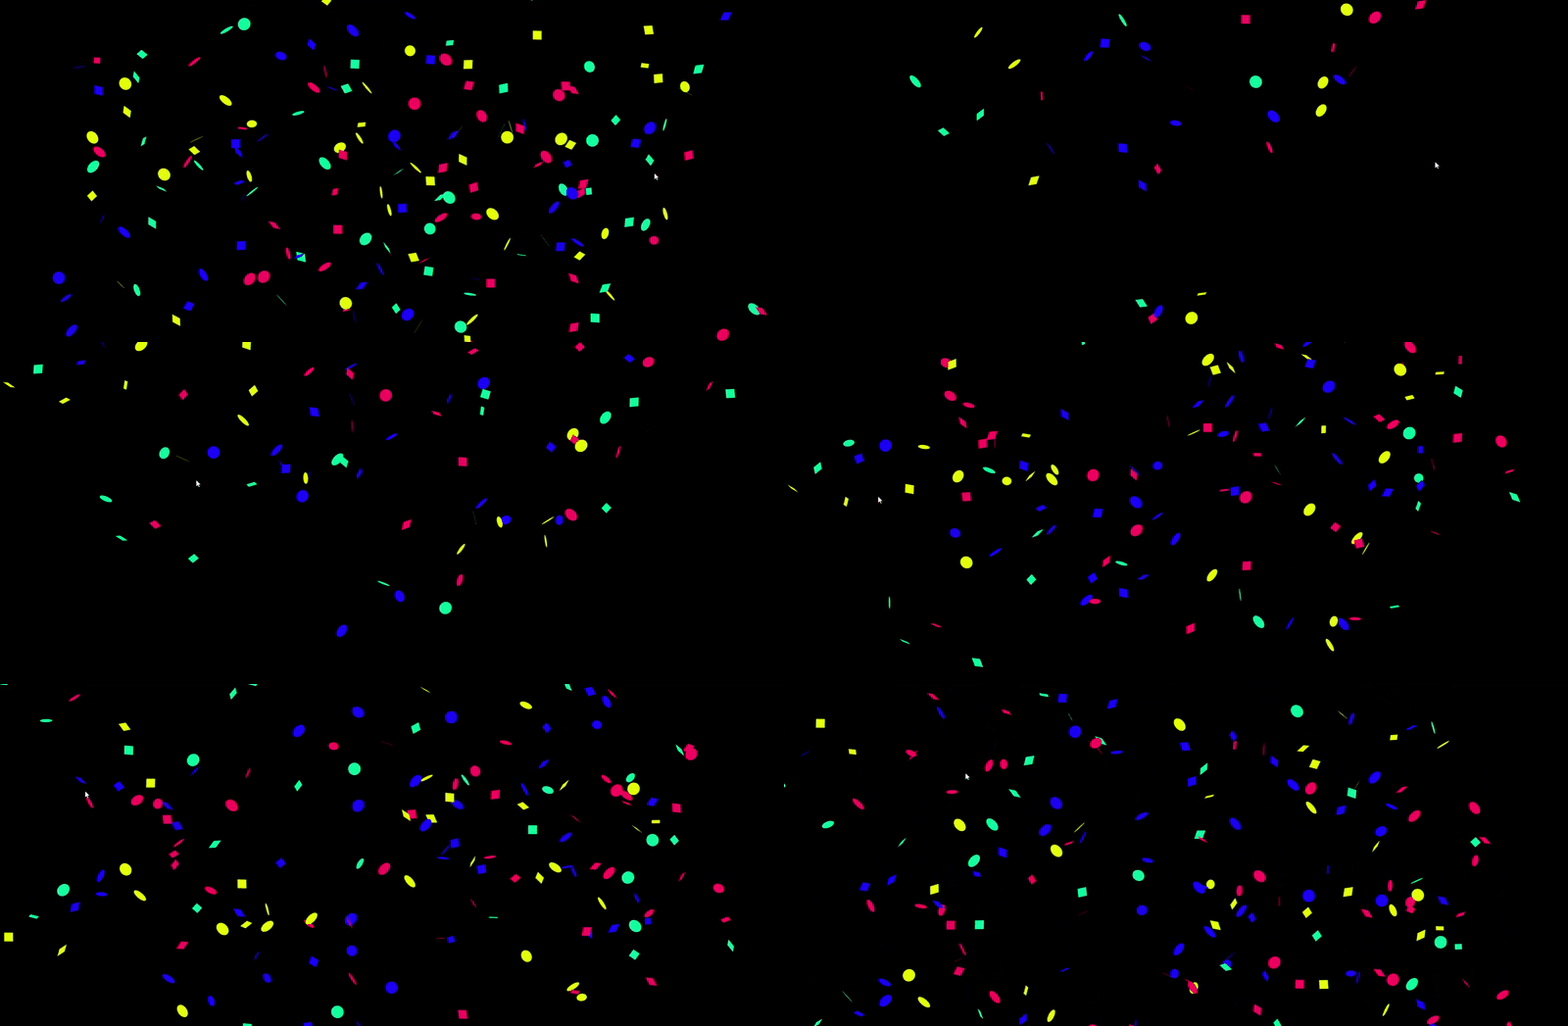
在第一个动画中,我们将使用 TsParticles 在网络应用程序中生成纸屑。纸屑是一种五颜六色的小块材料,通常在特殊的庆祝场合投掷。在网络应用程序中,当用户完成一项任务时,例如在电子学习网站上完成一门课程,可以用它来描绘一种庆祝形式。
要创建该动画,请按照以下步骤进行:
- 首先,在
src/App.js目录中,我们将清除 boiler 模板代码并导入必要的TsParticle依赖项:
import Particles from "react-tsparticles";
import { loadFull } from "tsparticles";
import { useCallback } from "react";
- 接下来,我们将定义动画配置和初始化 TsParticles 动画的函数:
//...
function App() {
const config = {
//Here we define the animation type, properties and behavior
};
const particlesInit = useCallback(async (engine) => {
// here we initialize the particles animation
await loadFull(engine);
}, []);
我们将使用 useCallback 来记忆 particleInit 函数,因此由于依赖关系数组为空 [],React 不会在每次呈现时创建新函数,而只会在组件挂载时的第一次呈现时创建。
在 App.js 组件的 return 块中,我们可以使用 config 和初始化函数访问动画:
//...
return (
<div className="App">
<Particles options={config} init={particlesInit} />
</div>
);
export default App;
对于彩纸动画,我们将在 config 中定义以下属性:
const config = {
fullScreen: {
zIndex: 1,
},
background: {
color: "#000",
},
emitters: {
position: {
x: 50,
y: 100,
},
rate: {
quantity: 5,
delay: 0.15,
},
},
particles: {
color: {
value: ["#1E00FF", "#FF0061", "#E1FF00", "#00FF9E"],
},
move: {
decay: 0.05,
direction: "top",
enable: true,
gravity: {
enable: true,
},
outModes: {
top: "none",
default: "destroy",
},
speed: {
min: 50,
max: 100,
},
},
number: {
value: 0,
},
opacity: {
value: 1,
},
rotate: {
value: {
min: 0,
max: 360,
},
direction: "random",
animation: {
enable: true,
speed: 30,
},
},
tilt: {
direction: "random",
enable: true,
value: {
min: 0,
max: 360,
},
animation: {
enable: true,
speed: 30,
},
},
size: {
value: 10,
animation: {
enable: true,
startValue: "min",
count: 1,
speed: 16,
sync: true,
},
},
shape: {
type: ["circle", "square"],
options: {},
},
},
};
我们可以定义上述每个属性的功能:
- Fullscreen:在该属性中,我们使用
z-index属性将预期动画的堆叠顺序设为 “1”。 - Emitters:在这里,我们使用
position属性指定了粒子动画的初始 X 和 Y 原点。我们还使用rate指定了每次发射的数量以及每次创建粒子之间的延迟。 - Particles:通过该属性,我们定义了发射粒子的质量和行为。
- Color:如上图所示,可以是单一颜色,也可以是不同颜色的集合。这将为动画中创建的每个粒子设置颜色。
- Move:该属性定义:
- 粒子动画的
direction。
使用decay属性指定粒子开始失去速度的时间。
我们还将gravity属性设置为 true,以启用重力对粒子的影响。
- 粒子动画的
- Number:这是动画中粒子的初始数量。
opacity, rotate, tilt, size, 和 shape 均执行其名称所暗示的功能。要运行应用程序,请在工作目录的终端环境中使用 npm start 命令,然后在浏览器中打开结果。您将看到与下面 GIF 类似的页面:
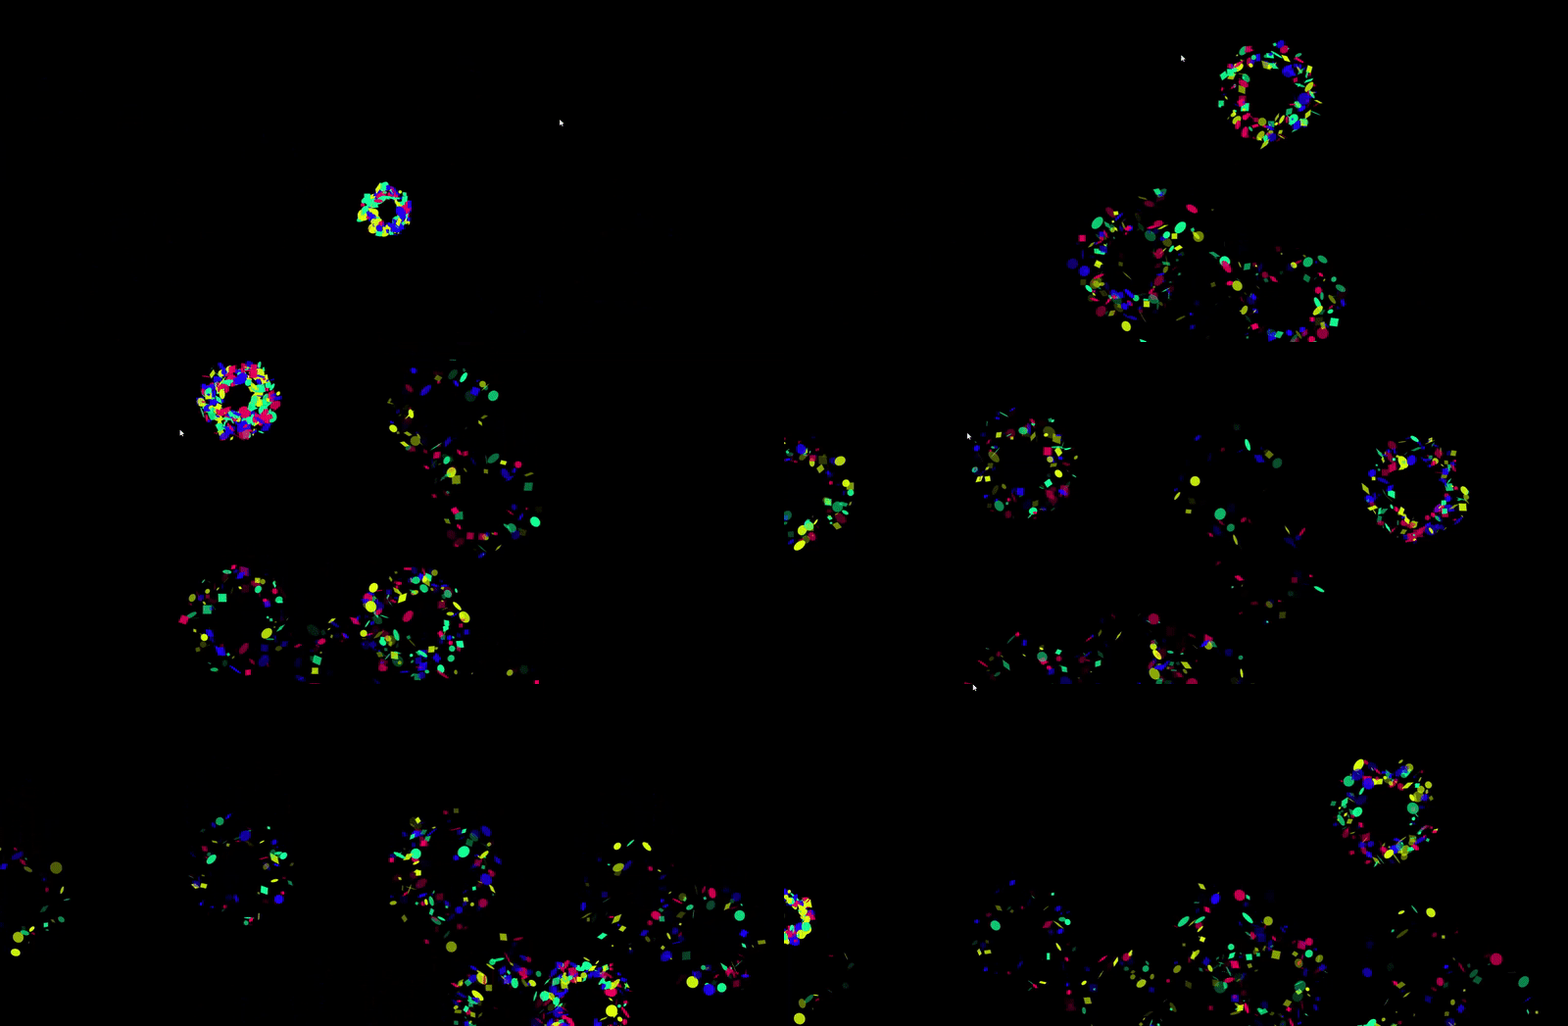
通过修改 config 属性,我们可以在 TsParticles 中创建独特的动画形式。例如,我们可以用下面的代码获得纸屑弹出动画:
const config = {
fullScreen: {
zIndex: 1,
},
background: {
color: "#000",
},
emitters: {
life: {
count: 0,
duration: 0.1,
delay: 0.4,
},
rate: {
delay: 0.1,
quantity: 150,
},
size: {
width: 0,
height: 0,
},
},
particles: {
color: {
value: ["#1E00FF", "#FF0061", "#E1FF00", "#00FF9E"],
},
move: {
enable: true,
gravity: {
enable: true,
acceleration: 10,
},
speed: {
min: 10,
max: 20,
},
decay: 0.1,
direction: "none",
straight: false,
outModes: {
default: "destroy",
top: "none",
},
},
number: {
value: 0,
},
opacity: {
value: 1,
animation: {
enable: true,
minimumValue: 0,
speed: 2,
startValue: "max",
destroy: "min",
},
},
rotate: {
value: {
min: 0,
max: 360,
},
direction: "random",
animation: {
enable: true,
speed: 30,
},
},
tilt: {
direction: "random",
enable: true,
value: {
min: 0,
max: 360,
},
animation: {
enable: true,
speed: 30,
},
},
size: {
value: 10,
random: {
enable: true,
minimumValue: 2,
},
},
shape: {
type: ["circle", "square"],
options: {},
},
},
};
运行应用程序将产生以下结果:
烟花效果
在本节中,我们将使用 TsParticles 按以下步骤创建烟花效果:
- 首先,我们将设置黑色背景和全屏属性,以便烟花清晰可见。此外,我们还将定义
fpsLimit(帧速率限制),使动画效果更佳,不会出现不流畅的情况,并将detectRetina值设为 “true”,以改善粒子外观:
const config = {
fullScreen: {
enable: true,
},
detectRetina: true,
background: {
color: "#000",
},
fpsLimit: 60,
};
- 接下来,我们将定义粒子的发射器属性。为了模仿真实的烟花,我们需要在创建爆炸效果之前,将粒子向上移动到不同的 x 坐标和 y 坐标上:
//...
emitters: {
direction: "top",
position: {
y: 100,
x: 50,
},
rate: {
delay: 0.03,
quantity: 1,
},
life: {
count: 0,
duration: 0.1,
delay: 0.1,
},
size: {
width: 80,
height: 0,
},
//...
我们还定义了粒子的 rate, life, 和 size 属性。接下来,我们将创建粒子并制作动画:
// still within the emitters property
particles: {
number: {
value: 0,
},
destroy: {
mode: "split", // using splits we will achieve a firework effect
split: {
rate: {
value: 100, //number of splits to be created
},
particles: {
// Splitted practicle properties
color: {
//color of particles after explosion
value: [
"#FF0000" /*Red */,
"#0000FF" /*blue */,
"#FFFF00" /*yellow*/,
],
},
opacity: {
value: 1,
animation: {
enable: true,
speed: 0.2,
minimumValue: 0.1,
sync: false,
startValue: "max", // create multiple fireworks
destroy: "min",
},
},
shape: {
// pattern of the explosion
type: "star",
},
size: {
value: 3,
animation: {
enable: false,
},
},
life: {
count: 1, //amount of time
duration: {
value: {
min: 1,
max: 2,
},
},
},
move: {
enable: true,
gravity: {
enable: false,
},
speed: 3,
direction: "none",
outMode: "destroy",
},
},
},
},
life: {
count: 1,
},
shape: {
type: "line",
},
size: {
value: { min: 1, max: 100 },
animation: {
enable: true,
sync: true,
speed: 150,
startValue: "random",
destroy: "min",
},
},
stroke: {
color: {
// color of the fireworks stroke
value: ["#00FFFF", "#FF8000", "#0080FF"],
},
width: 1,
},
rotate: {
path: true,
},
move: {
enable: true,
gravity: {
acceleration: 15,
enable: true,
inverse: true,
maxSpeed: 100,
},
speed: { min: 10, max: 20 },
outModes: {
default: "destroy",
},
trail: {
// trail for split particles
enable: true,
length: 10,
},
},
},
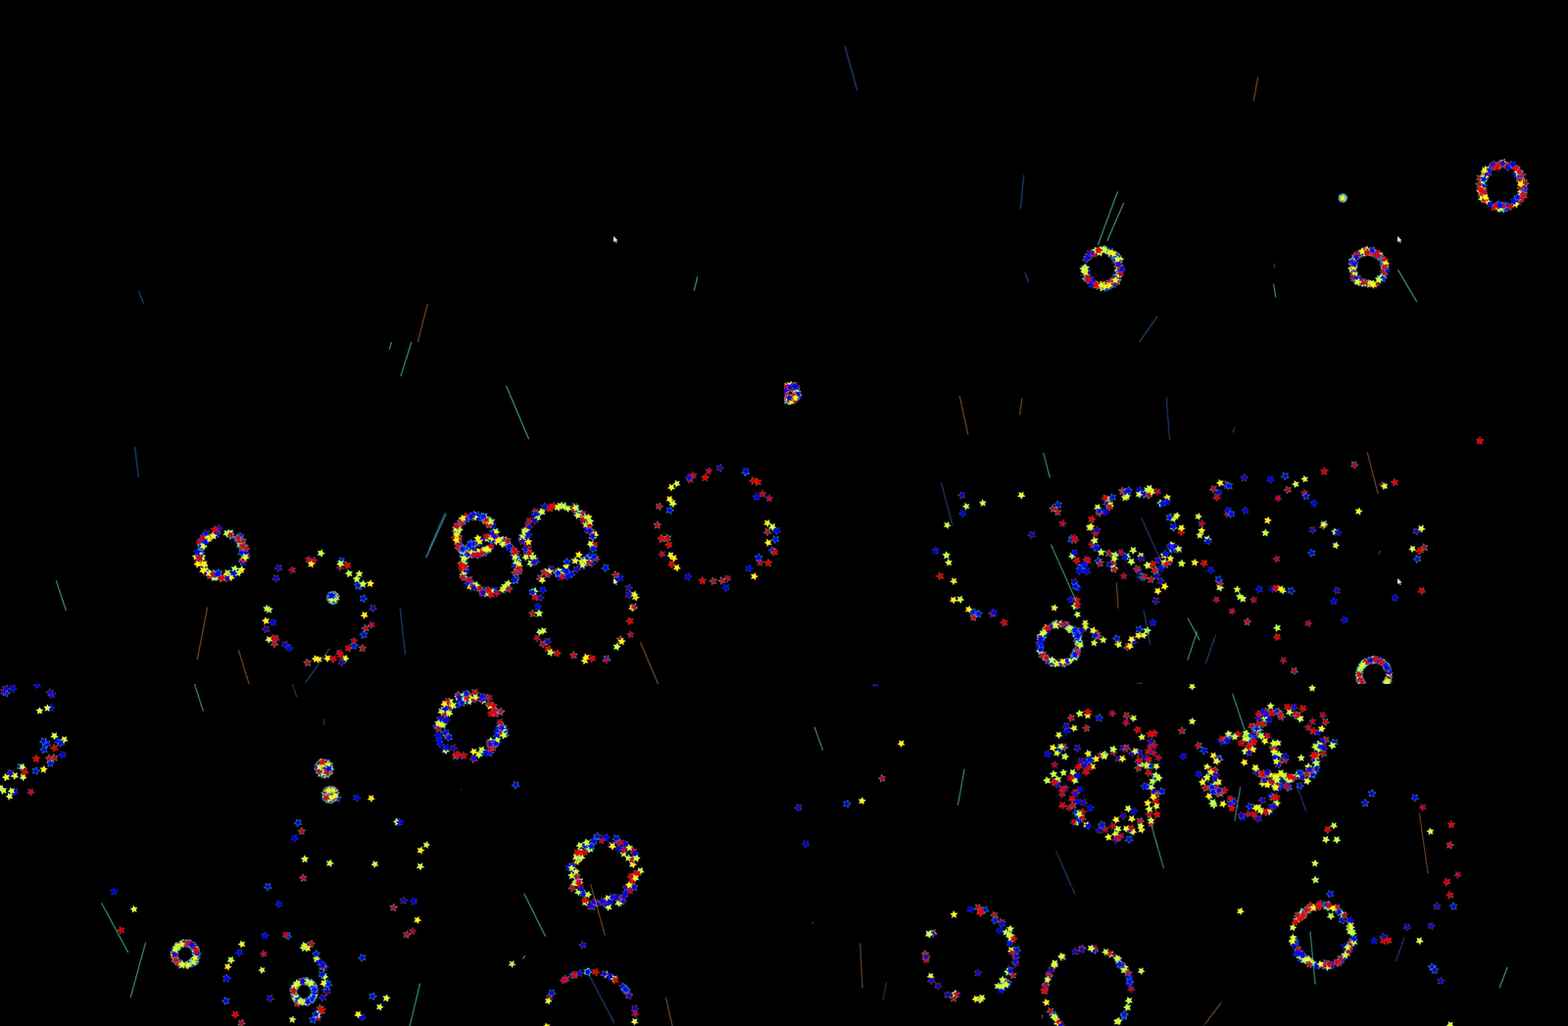
运行应用程序将得到以下效果:
使用预设
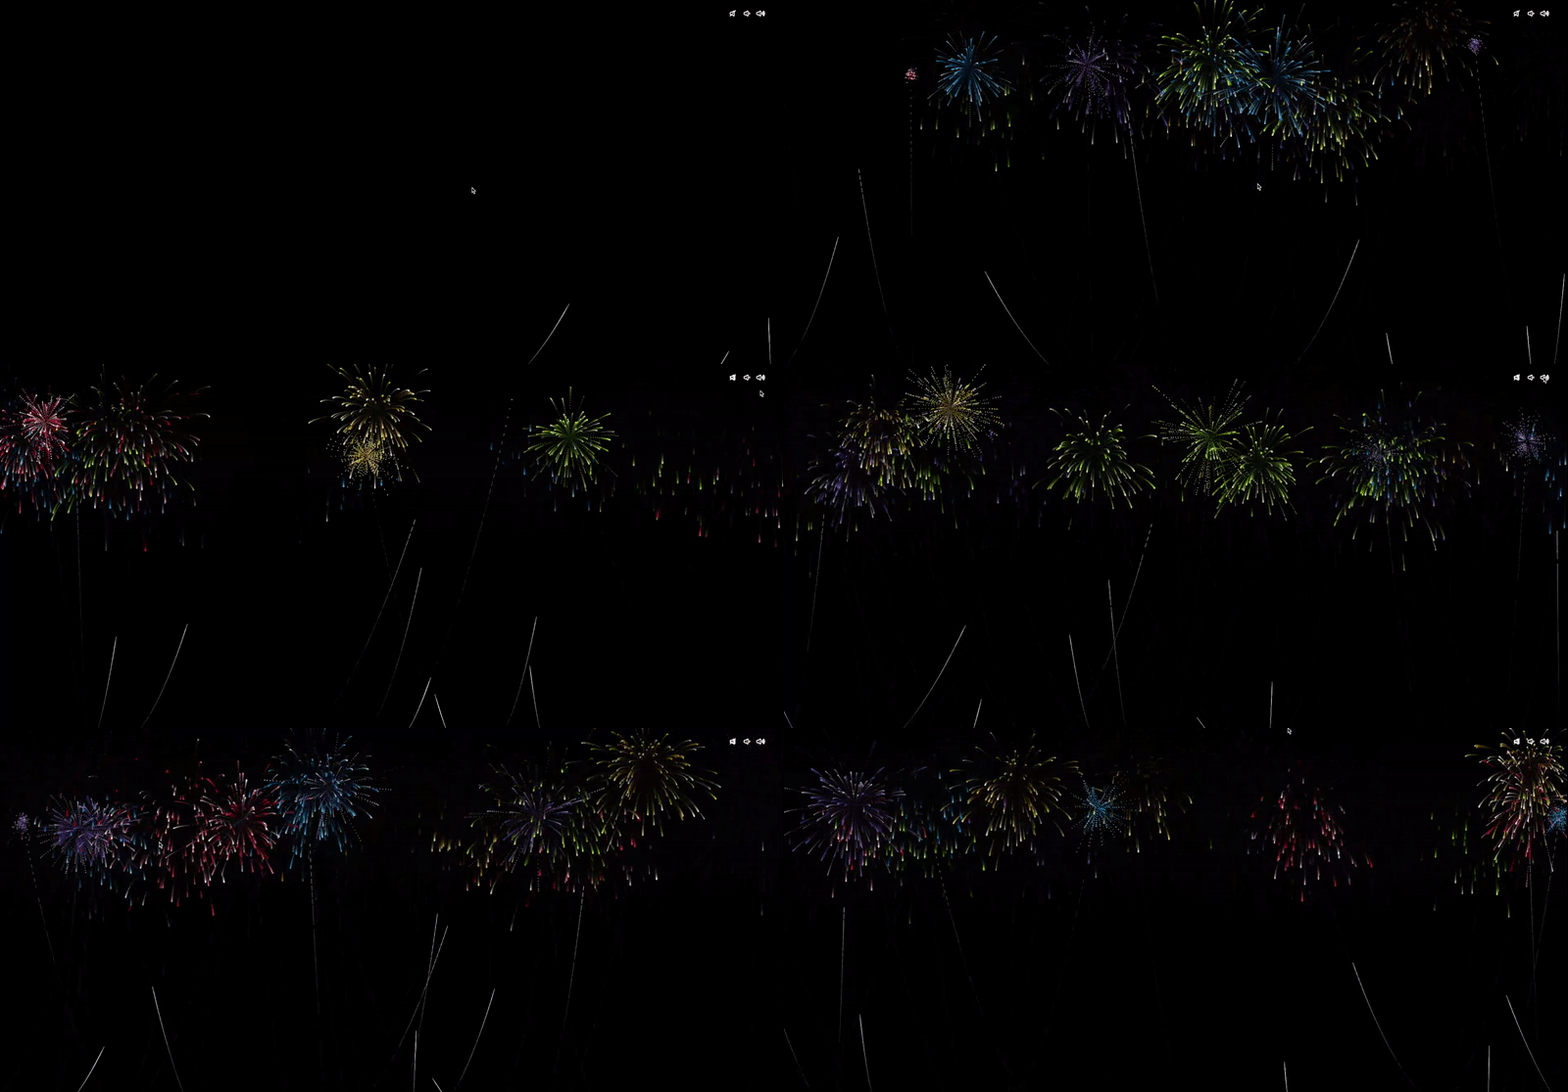
虽然创建粒子配置为控制动画属性提供了更大的灵活性,但也需要一定的时间才能完成。为了快速提供粒子动画,TsParticles 引入了预设粒子的使用。预设允许用户导入并使用预先配置好的粒子动画。例如,我们可以使用 TsParticles 提供的烟花预设,如下图所示。
首先,我们在 CLI 中使用以下命令安装预设:
npm install tsparticles-preset-fireworks
然后,我们就可以导入并使用它,如下所示:
import Particles from "react-tsparticles";
import { loadFull } from "tsparticles";
import { useCallback } from "react";
import { loadFireworksPreset } from "tsparticles-preset-fireworks";
const fireworkInit = useCallback(async (engine) => {
await loadFireworksPreset(engine);
}, []);
const options = {
preset: "fireworks",
};
return (
<div className="App">
<Particles options={options} init={fireworkInit} />
</div>
);
}
最终效果:
利用粒子实现交互
在本节中,我们将学习如何根据用户交互(如点击和悬停事件)生成 TsParticle 动画。如下代码所示,鼠标点击事件可触发粒子 emitter 动作:
background: {
color: "#000",
},
interactivity: {
events: {
onClick: {
enable: true,
mode: "emitter",
},
},
// emitter and mode here
},
接下来,我们定义一个包含 emitter 属性的 mode,然后添加其余的动画属性:
//....
modes: {
emitters: {
direction: "top",
spawnColor: {
value: "#FF8000",
animation: {
h: {
enable: true,
offset: {
min: -1.4,
max: 1.4,
},
speed: 0.1,
sync: false,
},
l: {
enable: true,
offset: {
min: 20,
max: 80,
},
speed: 0,
sync: false,
},
},
},
life: {
count: 1,
duration: 0.1,
delay: 0.6,
},
rate: {
delay: 0.1,
quantity: 100,
},
size: {
width: 0,
height: 0,
},
},
},
最后,我们定义粒子的属性:
particles: {
number: {
value: 0,
},
color: {
value: "#0080FF",
},
shape: {
type: ["circle", "square", "triangle"],
},
opacity: {
value: { min: 0, max: 1 },
animation: {
enable: true,
speed: 1,
startValue: "max",
destroy: "min",
},
},
size: {
value: { min: 6, max: 12 },
},
life: {
duration: {
sync: true,
value: 7,
},
count: 1,
},
move: {
enable: true,
gravity: {
enable: true,
},
drift: {
min: -2,
max: 2,
},
speed: { min: 10, max: 30 },
decay: 0.1,
direction: "none",
random: false,
straight: false,
outModes: {
default: "destroy",
top: "none",
},
},
rotate: {
value: {
min: 0,
max: 360,
},
direction: "random",
move: true,
animation: {
enable: true,
speed: 60,
},
},
tilt: {
direction: "random",
enable: true,
move: true,
value: {
min: 0,
max: 360,
},
animation: {
enable: true,
speed: 60,
},
},
roll: {
darken: {
enable: true,
value: 25,
},
enable: true,
speed: {
min: 15,
max: 25,
},
},
wobble: {
distance: 30,
enable: true,
move: true,
speed: {
min: -15,
max: 15,
},
},
},
在上面的代码中,我们创建了一个向上弹出的纸屑效果,其原点位于鼠标点击的位置:

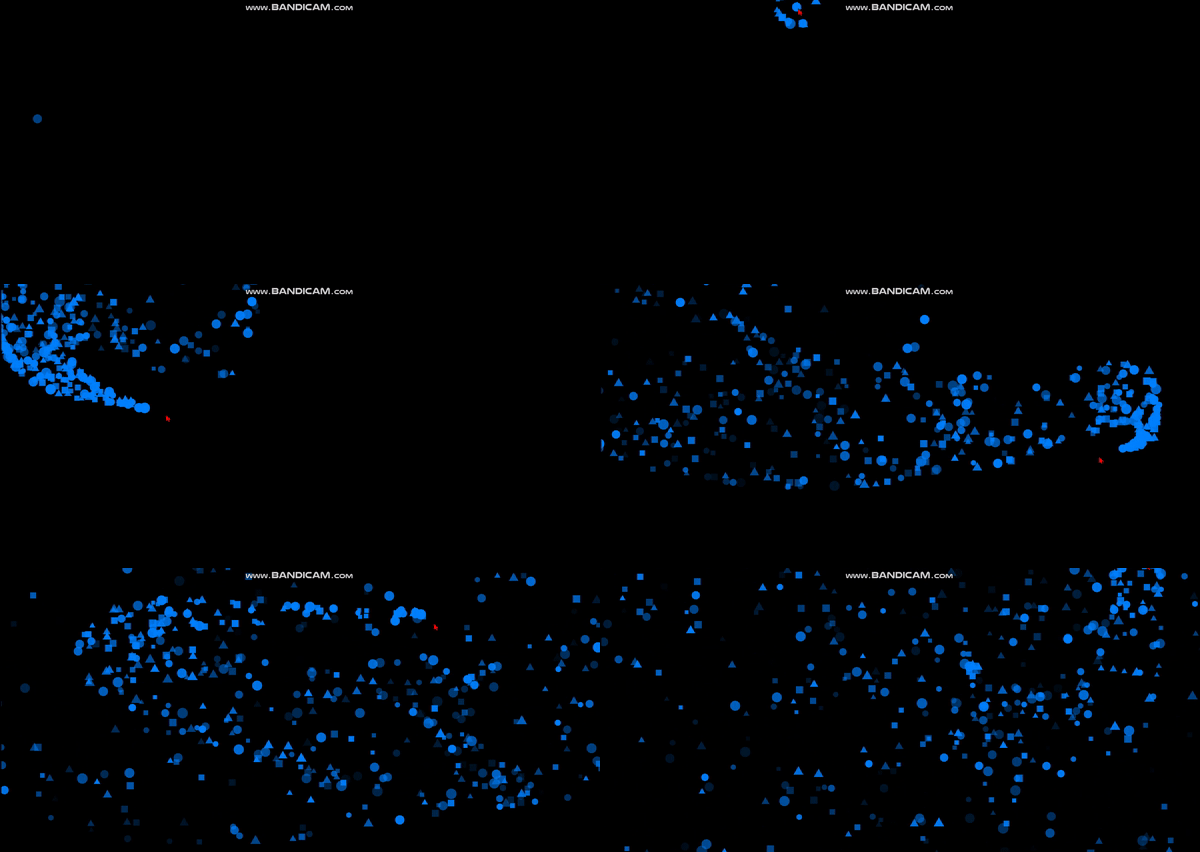
以类似的模式,我们还可以定义悬停动画,当鼠标在屏幕上悬停时,动画会发出微粒。为此,我们还将使用 interactivity 属性:
const config = {
background: {
color: "#000",
},
interactivity: {
detectsOn: "window",
events: {
onhover: {
enable: true,
mode: "trail"
},
//...
在这里,我们定义了检测鼠标事件的区域(即窗口)和要检测的事件类型。我们将使用 onhover 效果创建鼠标轨迹:
//...
resize: true,
},
modes: {
grab: {
distance: 400,
line_linked: {
opacity: 1,
},
},
bubble: {
distance: 400,
size: 40,
duration: 2,
opacity: 0.8,
speed: 3,
},
repulse: {
distance: 200,
},
push: {
particles_nb: 4,
},
remove: {
particles_nb: 2,
},
trail: {
delay: 0.005,
quantity: 5,
pauseOnStop: true,
},
},
},
retina_detect: true,
fullScreen: {
enable: true,
zIndex: 100,
},
fpsLimit: 60,
particles: {
number: {
value: 0,
density: {
enable: true,
value_area: 800,
},
},
color: {
value: "#0080FF",
},
shape: {
type: ["circle", "square", "triangle"],
},
opacity: {
value: { min: 0, max: 1 },
animation: {
enable: true,
speed: 1,
startValue: "max",
destroy: "min",
},
},
size: {
value: { min: 6, max: 12 },
},
links: {
enable: false,
},
move: {
enable: true,
speed: 3.5,
direction: "none",
random: false,
straight: false,
outMode: "destroy",
attract: {
enable: false,
rotateX: 600,
rotateY: 1200,
},
},
},
//...
运行应用程序将得到以下效果:
处理响应速度
通过 TsParticles,我们还可以定义粒子在不同屏幕尺寸下的行为,如下图所示:
responsive: [
{
maxWidth: 1024,
options: {
particles: {
move: {
speed: {
min: 33,
max: 66,
},
},
},
},
},
],
在上面的代码块中,我们为 maxWidth = 1024px 的屏幕定义了移动速度的最小值为 33,最大值为 66。因此,所有尺寸小于 1024px 的屏幕都将在定义的断点范围内对粒子应用属性。
与其他 React 组件集成
在本节中,我们将学习如何通过其他组件执行的操作来切换粒子动画。按钮或完成进度条等操作都可以触发这些动画。
按钮
使用动画,我们可以为简单的用户交互注入活力,例如点击订阅按钮或完成表单注册。要通过按钮触发粒子动画,请按照以下步骤操作:
- 首先,我们将创建一个新文件
Button.jsx,其中包含一个按钮组件,添加必要的导入,然后创建一个按钮:
import React, { useState } from "react";
import Particles from "react-tsparticles";
import { loadFull } from "tsparticles";
import { useCallback } from "react";
const Button = () => {
const [subscribed, setSubscribed] = useState(false);
// confetti particles animation here
return (
<div
style={{
display: "flex",
height: "100vh",
width: "100vw",
flexDirection: "column",
justifyContent: "center",
alignItems: "center",
gap: "23px",
background: "black"
}}
>
<button
id="#myButton"
style={{
padding: "10px 23px",
fontWeight: 700,
width: "max-content",
border: "1px solid black",
borderRadius: "12px",
background: subscribed ? "red" : "white",
color: subscribed ? "white" : "black",
transform: "scale(2)",
}}
onClick={() => setSubscribed(!subscribed)}
>
{subscribed ? "Unsubscribe" : "Subscribe"}
</button>
<p style={{ fontSize: "40px", color: "white" }}>
{/* subscription caption */}
{!subscribed
? "Subscribe to my news letter to get regular updates"
: "Thank you for subscribing. Cheers!!!"}
</p>
// return particles component when subscribed is true
</div>
);
};
export default Button;
之后,我们就可以创建 TsParticles 配置,并设置 Particles 组件在 subscribe 状态为 true 时显示:
// pop confetti
const config = {
fullScreen: {
zIndex: 1,
},
emitters: {
position: {
x: 50,
y: 100,
},
rate: {
quantity: 25,
delay: 0.15,
},
spawnColor: {
value: "#FF8000",
animation: {
h: {
enable: true,
offset: {
min: -1.4,
max: 1.4,
},
speed: 0.1,
sync: false,
},
l: {
enable: true,
offset: {
min: 20,
max: 80,
},
speed: 0,
sync: false,
},
},
},
life: {
count: 1,
duration: 7,
delay: 0.6,
},
size: {
width: 0,
height: 0,
},
},
particles: {
color: {
value: ["#1E00FF", "#FF0061", "#E1FF00", "#00FF9E"],
},
move: {
decay: 0.05,
direction: "top",
enable: true,
gravity: {
enable: true,
},
outModes: {
top: "none",
default: "destroy",
},
speed: {
min: 50,
max: 100,
},
},
number: {
value: 0,
},
opacity: {
value: 1,
},
rotate: {
value: {
min: 0,
max: 360,
},
direction: "random",
animation: {
enable: true,
speed: 30,
},
},
tilt: {
direction: "random",
enable: true,
value: {
min: 0,
max: 360,
},
animation: {
enable: true,
speed: 30,
},
},
size: {
value: 8,
animation: {
enable: true,
startValue: "min",
count: 1,
speed: 16,
sync: true,
},
},
roll: {
darken: {
enable: true,
value: 25,
},
enlighten: {
enable: true,
value: 25,
},
enable: true,
speed: {
min: 5,
max: 15,
},
},
wobble: {
distance: 30,
enable: true,
speed: {
min: -7,
max: 7,
},
},
shape: {
type: ["circle", "square"],
options: {},
},
},
};
const particlesInit = useCallback(async (engine) => {
await loadFull(engine);
}, []);
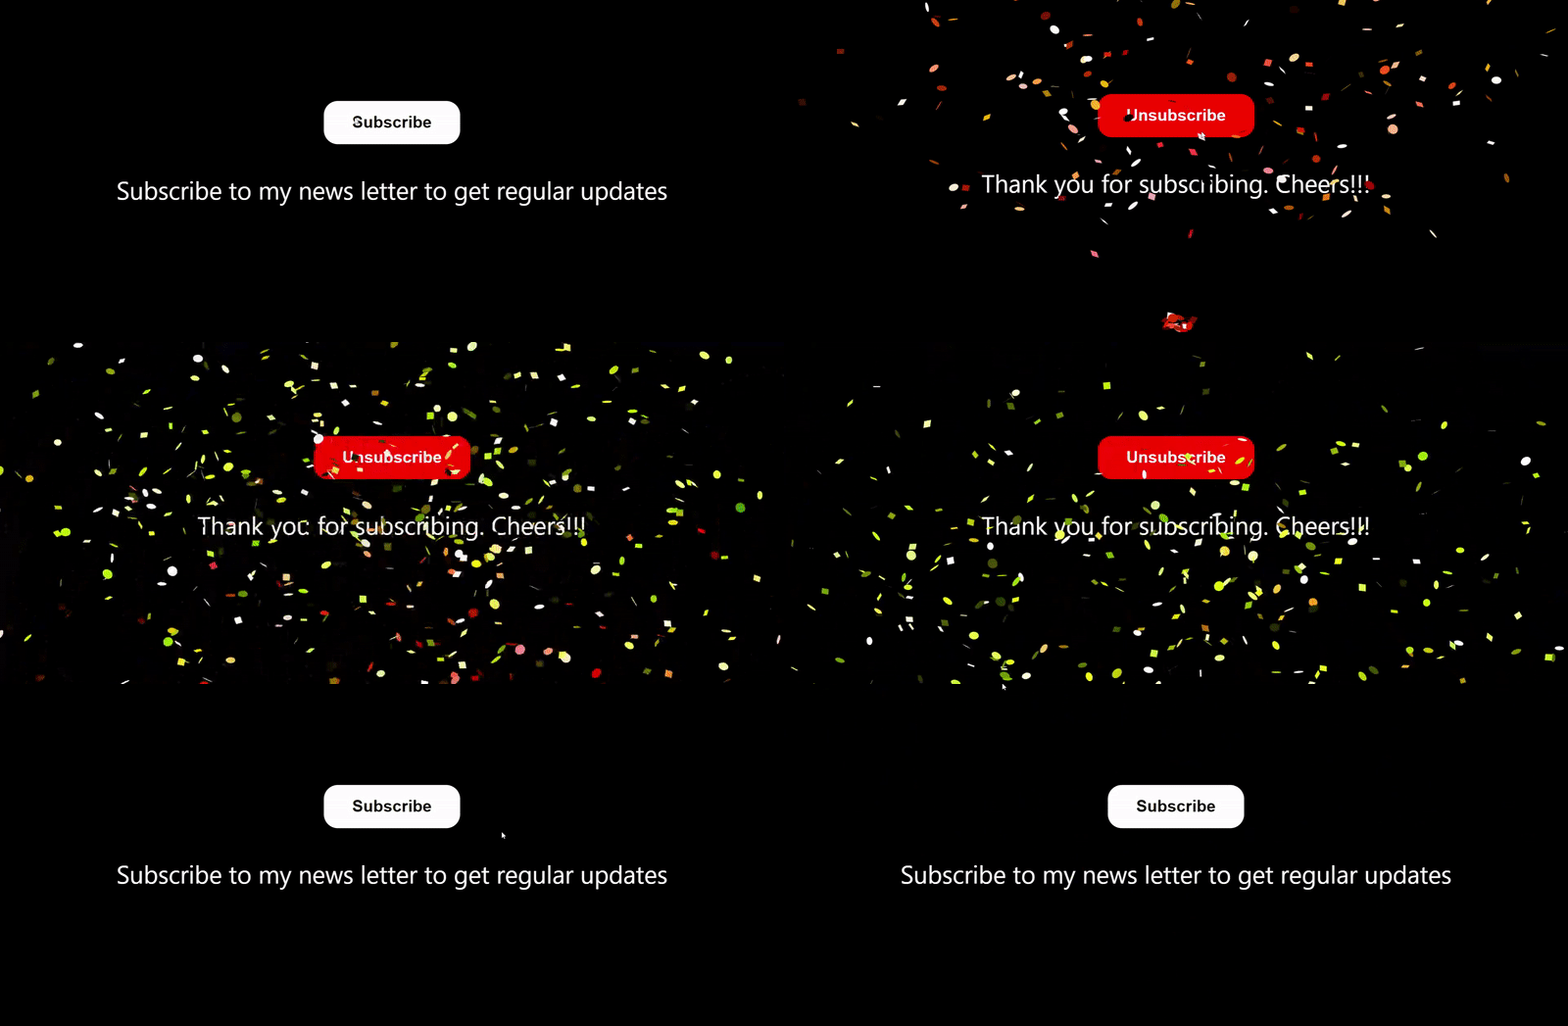
在上面的代码块中,我们创建了一个 subscribed 状态,用于管理要显示的文本以及按钮的 CSS 属性。在 return 代码块的末尾,添加
{subscribed ? <Particles options={config} init={particlesInit} /> : null}
这样,我们就可以在点击按钮时切换 subscribed 值。它会显示粒子:
进度条指示器
进度条指示器是用户完成任务进度的标志。这可以是完成课程,甚至是滚动到页面底部。通过使用动画,我们可以为用户提供一个完成任务的标志,让他们感到放松。与上一节中的按钮示例类似,我们可以在滑块达到 “100%” 值时触发粒子动画:
import React, { useState, useEffect } from "react";
const Slider = () => {
const [scrolled, setScrolled] = useState(0);
useEffect(() => {
window.onscroll = function () {
var winScroll =
document.body.scrollTop || document.documentElement.scrollTop;
var height =
document.documentElement.scrollHeight -
document.documentElement.clientHeight;
setScrolled((winScroll / height) * 100);
};
}, []);
return (
<div
style={{
display: "flex",
minHeight: "100vh",
flexDirection: "column",
alignItems: "center",
position: "relative",
padding: "0 120px",
background: "#333"
}}
>
<progress
value={scrolled}
max={100}
style={{
width: "80%",
height: "30px",
marginTop: "15px",
position: "fixed",
top: "0",
}}
></progress>
<h1
style={{
marginTop: "80px",
color:"white",
}}
>
{/* content */}
{/* Page content. For this example, I am using random AI generated text */}
</h1>
</div>
);
};
export default Slider;
在上面的代码块中,我们创建了一个进度指示器,显示用户滚动了页面的多少部分。当用户滚动到页面底部时,我们将触发粒子动画:
// dependencies
import Particles from "react-tsparticles";
import { loadFull } from "tsparticles";
import { useCallback } from "react";
// config and particles init function
const config = {
fullScreen: {
enable: true,
},
detectRetina: true,
fpsLimit: 60,
emitters: {
direction: "top",
position: {
y: 100,
x: 50,
},
rate: {
delay: 0.03,
quantity: 1,
},
life: {
count: 0,
duration: 0.1,
delay: 0.1,
},
size: {
width: 100,
height: 0,
},
particles: {
//properties of the main firework particle
number: {
value: 0, //to randomiser the number of particles
},
destroy: {
mode: "split", //to get the fireworks effect
split: {
rate: {
value: 100, //amount of splits
},
particles: {
// setting properties of those particles formed after splitting
color: {
value: [
"#FF0000" /*Red */,
"#0000FF" /*blue */,
"#FFFF00" /*yellow*/,
],
},
opacity: {
value: 1,
animation: {
enable: true,
speed: 0.2,
minimumValue: 0.1,
sync: false,
startValue: "max", //multiple fireworks
destroy: "min",
},
},
shape: {
type: "star",
},
size: {
value: 4,
animation: {
enable: false, //to get the sparkly feeling
},
},
life: {
count: 1, //amount of time
duration: {
value: {
min: 1,
max: 2,
},
},
},
move: {
//all about firework showers
enable: true, // to get the fireworks effect
gravity: {
enable: false, //stops gravity from pulling them up
},
speed: 3, //speed of the fireworks
direction: "none", //direction of the fireworks
outMode: "destroy", // avoids overlapping of fireworks
},
},
},
},
life: {
count: 1,
},
shape: {
type: "line",
},
size: {
value: { min: 1, max: 100 },
animation: {
enable: true,
sync: true,
speed: 150,
startValue: "random",
destroy: "min",
},
},
stroke: {
color: {
value: ["#00FFFF", "#FF8000", "#0080FF"],
},
width: 1,
},
rotate: {
path: true, //single path
},
move: {
enable: true,
gravity: {
acceleration: 15,
enable: true,
inverse: true, //to avoid projectiles and follow a st line
maxSpeed: 100,
},
speed: { min: 10, max: 20 },
outModes: {
default: "destroy",
},
trail: {
// to give the split particle a trail so that we can see its dirn
enable: true,
length: 10,
},
},
},
},
};
const particlesInit = useCallback(async (engine) => {
await loadFull(engine);
}, []);
在上面的代码块中,我们导入了 TsParticles 依赖项,并为之前的烟花动画创建了一个配置。为了在进度已满时显示动画,我们需要设置一个条件,检查 scrolled 的值是否为 100,然后渲染 Particles 组件:
{scrolled === 100 ? (
<Particles options={config} init={particlesInit} />
) : null}
最终结果:

小结
在本文中,我们讨论了 React TsParticles 库及其融入网络应用时的视觉效果。我们还展示了在 React 应用程序中设置和实现 TsParticles 的步骤。此外,我们还讨论了使用用户交互自定义粒子动画行为以及与其他 React 组件的集成。




评论留言